
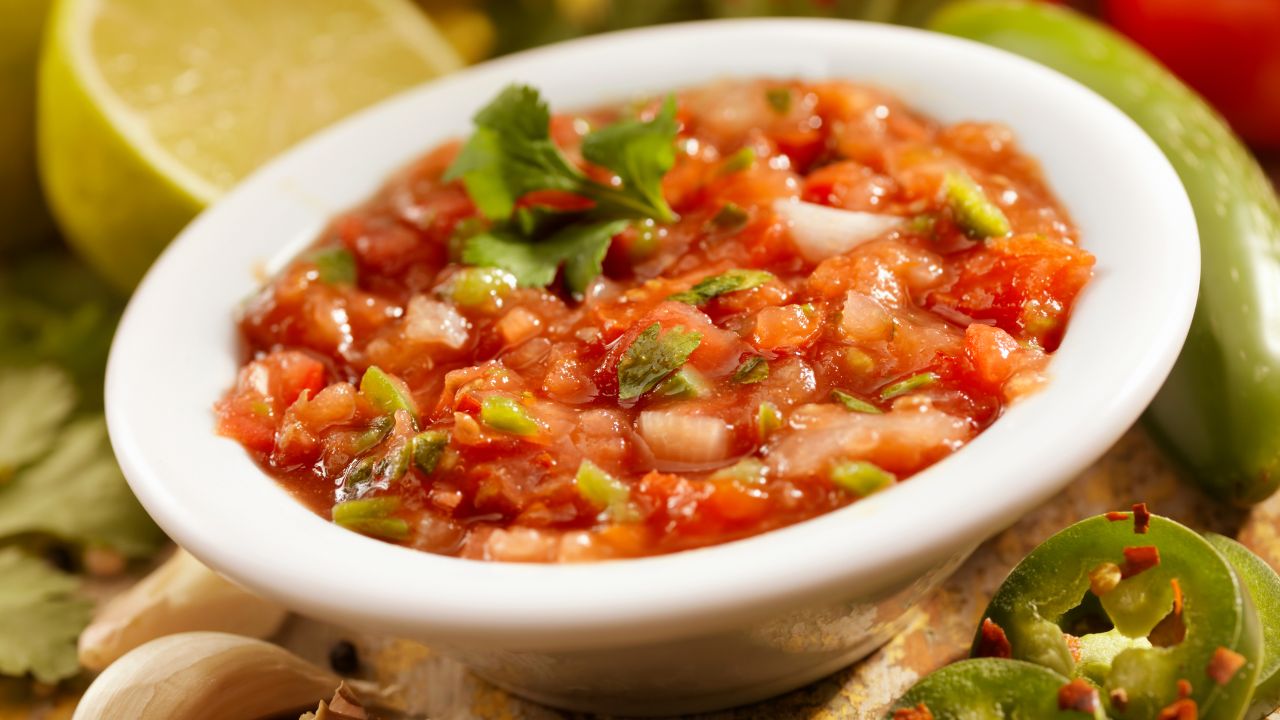
Salsa is such a delicious sauce, full of super sweet and spicy flavors, this Mexican staple is absolutely perfect for all sorts of different dishes, no matter the occasion!
There are plenty of options when it comes to great salsas from the store, but in reality, nothing quite beats the taste of your very own homemade salsa!
So, whether you decide to use your salsa for dipping in your nachos and breadsticks, or for putting into your burritos, this wonderful sauce is sure to bring some taste to any meal!
The common problem is however when it comes to making a load of salsa, you can often end up making way too much, which means that you then have to make sure you use up your salsa to avoid it going to waste, and as nice as it tastes, you can’t keep eating salsa with every dish!
So, if you’re wondering what the best way to save your leftover salsa is, then the chances are you’ve considered whether or not you can freeze your salsa, and the answer is: Yes you can!
In this guide, we’ll teach you all you need to know about how to freeze salsa to ensure that you can keep your delicious sauce fresher for longer.
How To Freeze Salsa
Freezing salsa is definitely possible, but is perhaps not quite as easy as you’d think, and it most certainly isn’t just as easy as putting your salsa into a container and into the freezer.
So, here’s the best way for you to go about freezing your salsa:
Firstly, you’re going to want to thicken your salsa, you can do this by simmering your salsa over the stovetop and letting some of the liquid from the sauce evaporate, this usually takes around 45 to 50 minutes.
Alternatively, you can just add some additional tomato pasta if you want to thicken it more quickly. If your salsa is already pretty thick, then you can skip this step entirely.
Once you’ve thickened your salsa, you’re going to want to let it cool down to room temperature, which should take about an hour.
This is an important step as freezing salsa that is either warm or hot will lead to ice crystals forming at the top of the container as a result of the condensation given off by the warm sauce.
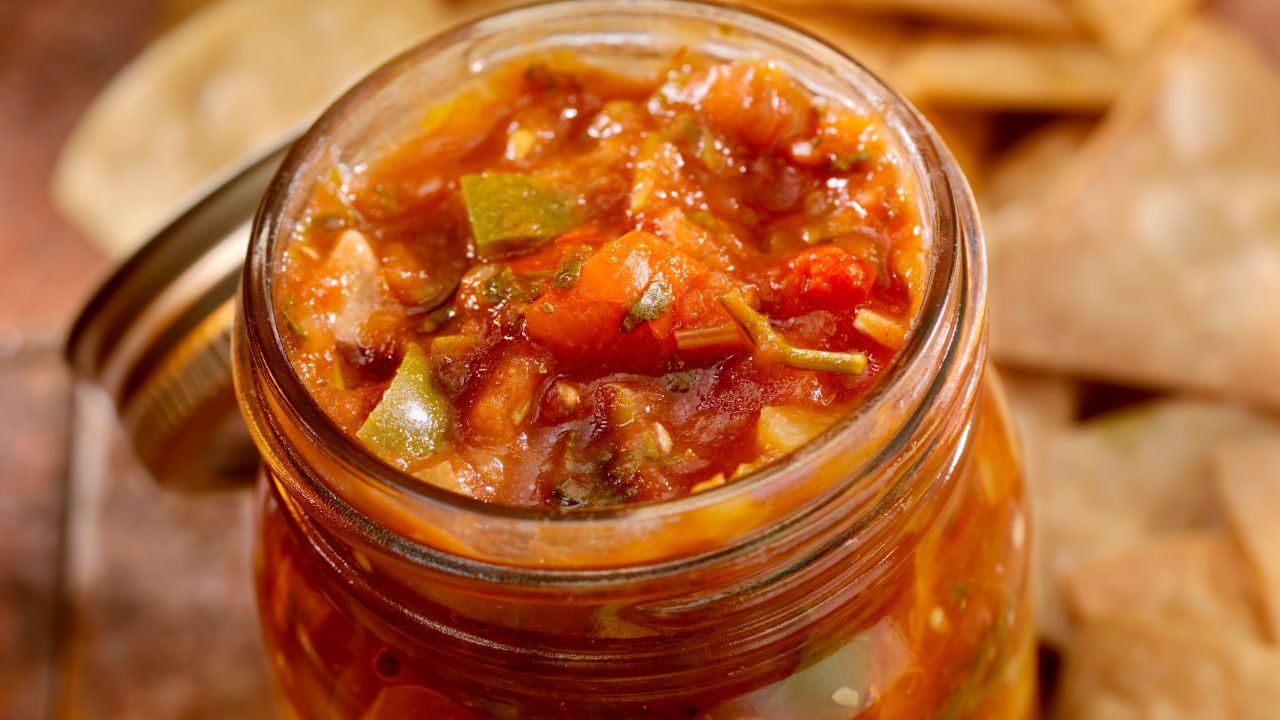
Your next task is then to portion out your salsa into freezable containers or re-sealable bags, and it’s completely up to you how much salsa you decide to put into each serving, just remember that once it has defrosted, you’ll need to use it all up.
You should then label each bag or container with the current date so you’re aware of how long your salsa has been frozen for.
The best thing about storing your extra salsa in the freezer is that it can last up to 4 months in the freezer with no issues!
So, now that your salsa is in the freezer, what about defrosting it?
Defrosting Your Salsa
Your frozen salsa will obviously need to be defrosted before you can go ahead and use it. However, there’s no need to worry as this is actually an extremely easy process.
In order to thaw your salsa, all you have to do is move the portion of salsa from your freezer into your refrigerator, and then drain off some of the excess liquid as you wish!
This allows you to choose what sort of consistency you want from your salsa, but be careful not to pour too much away.
It is important to note that you shouldn’t by any means defrost your frozen salsa at room temperature, as this will cause it to go bad rather quickly.
Store Bought VS Homemade Salsa For Freezing
Store-bought salsa can still be a great addition to your Mexican feasts, however, nothing tastes better than some delicious homemade salsa.
Making your own salsa is actually super easy and also really affordable. Plus, it’s a great way of making sure that you have plenty of salsa available for when your Mexican food nights includes plenty of guests too!
So, if you’re looking for an easy salsa recipe that is also freezer friendly, then have a read on below!
- To begin, wash and slice 15-20 fresh tomatoes into small cube shapes, and make sure that you remove both the cores and the seeds.
- Next, slice 7-8 jalapeno peppers into even smaller cubes. You want to make sure these are smaller due to the immense flavor that they pack. Removing the seeds from these peppers is completely optional, but bare in mind that the seeds will make your salsa incredibly spicy! Once done, add your jalapeno peppers into the mixture.
- Finely chop up some garlic and then also add this to the mixture too.
- Once all of your vegetables are in one pot, you’re going to want to flavor them with plenty of fresh cilantro, lime juice(or if you prefer, cider vinegar), as well as coriander (We think grounded coriander works best), cumin, cayenne pepper, sugar, and of course, salt and pepper. You should then stir this mixture until everything has combined well.
- Once your sauce has fully combined, you then need to transfer it to a saucepan, and bring it to a boil on the stovetop at medium heat, ensuring that you stir it regularly so that it gets cooked through completely.
- You should aim to simmer the sauce for around 45 minutes whilst completely uncovered, this will make sure that your sauce is delightfully thick and ready to serve alongside any of your chosen Mexican dishes!
How To Thicken Your Salsa
If you find that your salsa isn’t thick enough for your liking then worry not, as there is an easy way for you to thicken up your salsa in no time at all!
First, for every cup serving of salsa that you want to thicken up, you’re going to need one tablespoon of cornstarch, add these tablespoons of cornstarch to a bowl and then add the same quantity of water as you did cornstarch.
Then, you need to mix these two ingredients together in order to form a paste.
Once done, put your salsa into a saucepan and onto the stove and simmer it over medium heat.
Once your salsa is really beginning to simmer, add in the cornstarch mixture you made previously and stir it non-stop for about a minute, as this will ensure your sauce and the cornstarch mix actually combine.
You then want your salsa to boil, but only for a minute, as this will help to remove any starchy taste from the sauce.
But be warned, boiling the sauce for any longer than a minute will ruin the consistency, and will ultimately mean that your salsa will run much thinner.
Now you’re done! So if you ever need to thicken up a particularly runny salsa sauce, just refer back to this easy method and you should have no problems!
Final Tips And Tricks For Freezing Salsa
We hope you’ve enjoyed our guide on how to freeze your salsa, as well as how to make your own delicious salsa at home, and how to thicken it up if it goes runny.
Before you go, read some of these final tips and tricks to know when it comes to freezing your salsa!
- Our first tip is not to freeze chunky salsa at all! This is because the larger slices of vegetables will lose flavor and make the salsa watery, which is something you want to avoid. Instead, you’ll need to either blend the salsa in a food processor or remove the chunky veg and slice it up smaller before freezing it.
- Secondly, you should never freeze raw salsa! This is because it simply won’t taste as good as pre-cooked salsa, and also won’t last as long in the freezer either.
- You should always place your salsa into airtight containers or bags before you freeze it, as contact with oxygen could cause your salsa to go bad quickly, so you should try to avoid any air exposure if possible.
- The best way to freeze your salsa is in smaller portions! Even if you’re a massive fan of salsa like us, and use it nearly every day, storing it in large portions means that every time you take some salsa out, you expose the rest of it to air! So by storing in much smaller portion sizes, you can take out just as much as you need without the risk of exposing the rest of your salsa to the air.
- Finally, you can always puree your salsa before freezing it, and add new veggies to it once thawed, which gives you the best of both worlds!
Conclusion
Thanks for reading our guide on how to freeze salsa, we hope you enjoyed it!

Cooking is great for your mental, physical, and emotional health. What’s the worst that could happen? Find a recipe that you like the sound of and cook it along with me. You might even unlock a new passion!
- 15 Traditional Greek Breads - July 31, 2023
- 30 Delicious And Gluten-Free Cookie Recipes - July 29, 2023
- 30 Of The Best European Desserts - July 29, 2023